
Building design from floor plan to sections
Walls from quick slots, rooms with their areas, doors, windows, roofs, sections and 3D in one model. Ventilation, piping and electrical work is drawn on the same building.
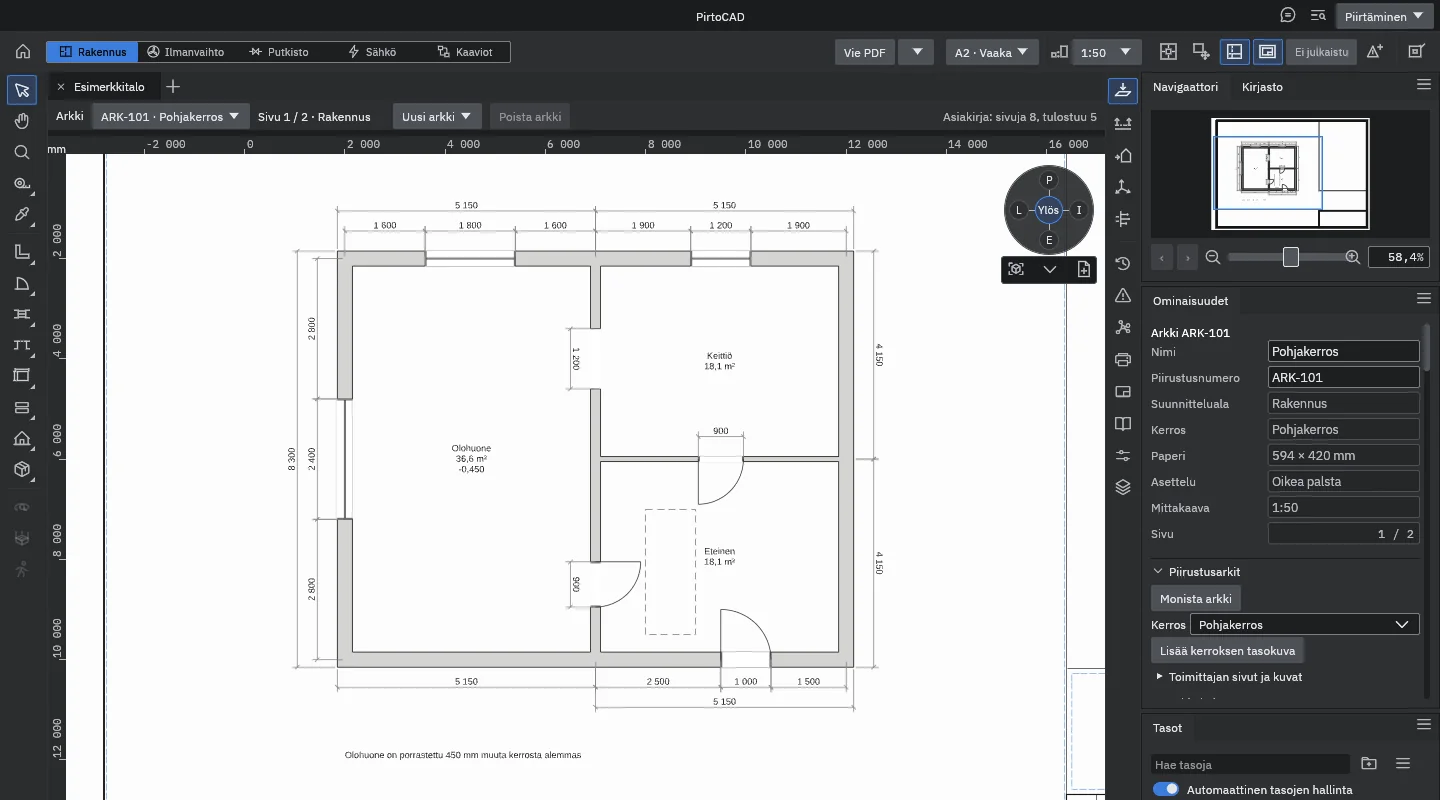
What you draw and calculate
Underlay, walls and rooms
Import a PDF, an image or a DWG or DXF drawing as the underlay. A PDF or an image is calibrated with two clicks; a DWG or DXF drawing that stores its units is at true scale from the start. Pick a wall from the quick slots and click the corners. When the wall chain closes, PirtoCAD creates the room and calculates its area.
- Quick slots for exterior, load-bearing, partition and fire-separating walls, each with a default material you can change
- In a layered wall, every layer has its own material and thickness
- Type a length as arithmetic while drawing: 1200/2+50 gives 650 mm
 Video coming
Room types, doors and windows
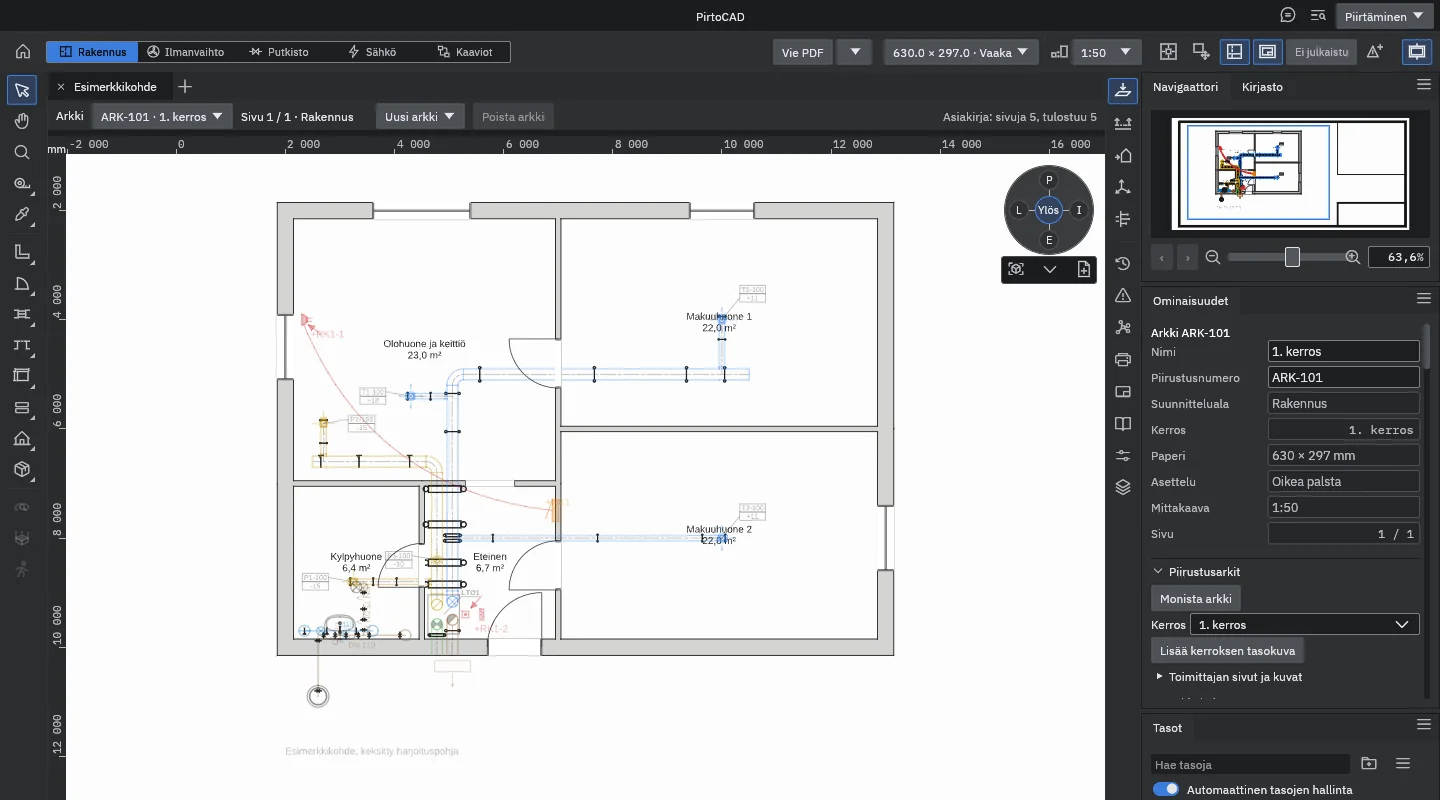
Give a room its type from the list or by searching. An unnamed room takes its name from the type, and the same type gives the ventilation design its airflow proposal. Doors and windows are placed by clicking a wall. Flip the hinge side and the swing with F and G before you click, or later in the Properties panel.
- Standard door widths of 700, 800, 900, 1000 and 1200 mm
- Slab openings for stairs and shafts
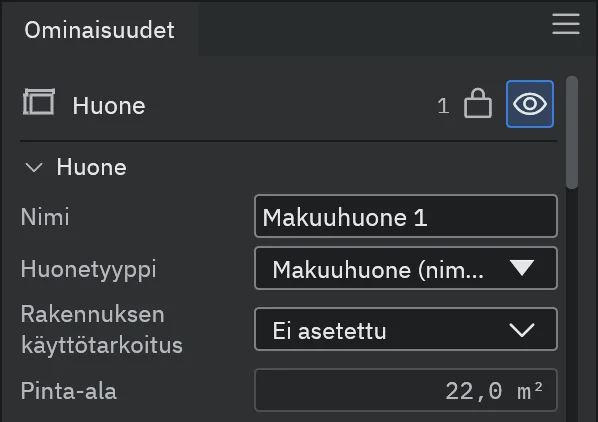
- Storey height and slab thickness are set in the storey's properties
Problems and quantities
The Problems panel shows a wall that stops short so that the room does not close, a door whose swing hits a wall or furniture, and an opening that does not fit its wall. Clicking a row selects the object. From the short wall's context menu you can extend it to the line of the next wall, and the room closes.
With the Material take-off mode on (View > Modes), its panel lists the walls on the Construction tab in metres and the doors and windows by size. Clicking a row selects its objects in the drawing, and the quantities export to CSV or Excel.
Roofs, sections, elevations and 3D
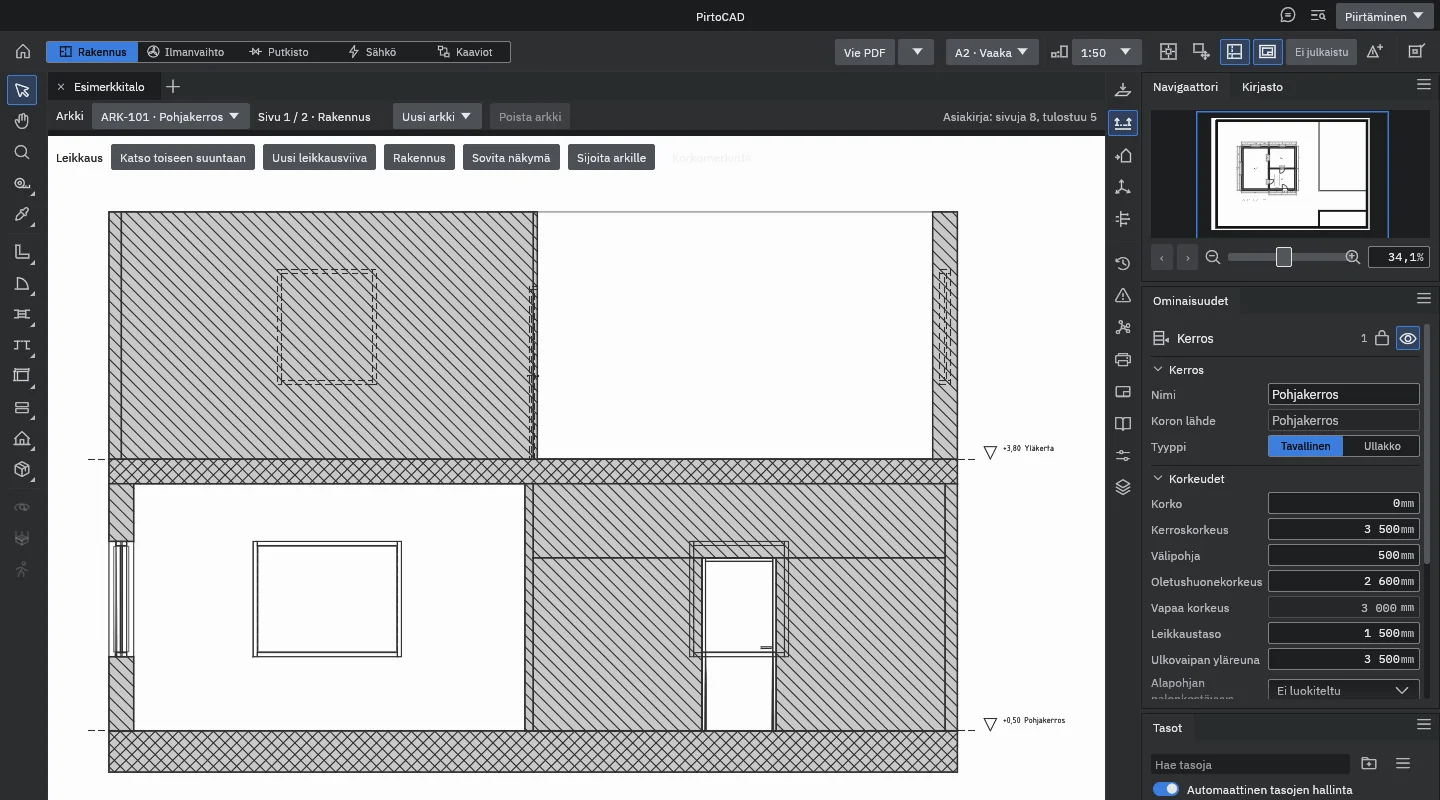
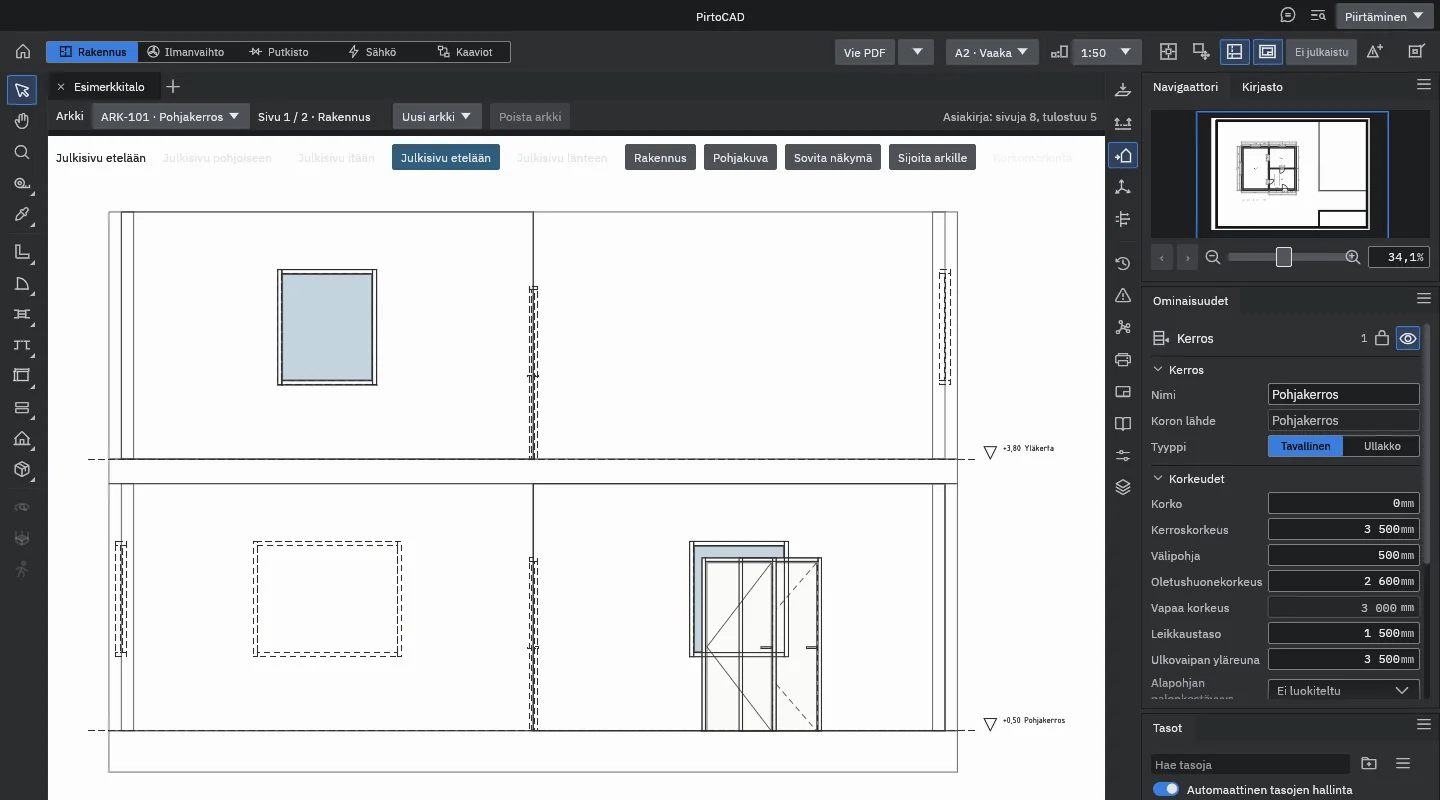
Draw roof planes with their pitch and derive the ridges, valleys and eaves from them. A section follows its section mark, elevations are shown from all four compass directions, and the 3D view shows the same model. Sections and elevations can be placed on sheets, and the sheets export to PDF.
- Move the section mark and the section moves with it
- Sections and elevations can show room names and fire compartment boundaries
The designer is responsible for the results. An empty Problems panel only means that the program's current checks found nothing. It does not mean that the design has been checked or that it complies with regulations. Always check dimensions, quantities and default values yourself.
Coming to building design
These are in progress and not yet in the alpha's window. The item marked (command) already runs as a command of pirtocad-cli and the MCP server, for example from an AI agent.
- Building wings in the application window
- True split-level storeys; until then a split level is drawn as a room floor offset or a half storey
- Room design heat load calculated from the building data (command)
The building designer's path
The planned path is the foundations course first, then the construction course, which starts with a one-storey house. No episodes have been published yet.
Video comingA1.1 One-storey house: project, storey and walls
Video coming